
TL;DR:
- Matching wall compositions to furniture scale creates a balanced and considered room.
- DwellForms™ modular panels allow renters to scale wall art without drilling, enhancing visual harmony and flow.
Three rules make the difference between a room that looks assembled and one that feels considered. Anchor every wall composition to the furniture beneath it, matching widths so nothing floats. Scale deliberately: art or panels should span roughly two-thirds of the furniture width below, rugs should cover a significant portion of the seating footprint to anchor the space visually, and main walkways need clear passage sufficient for comfortable movement. Move the furniture itself: pull key pieces away from walls, arrange seating in triangles or conversation clusters, and use modular PET felt panels to adjust the visual weight of the wall until it matches what sits beneath. These three rules work because they give every element a relationship to something else — nothing is left to drift.
Table of Contents
- How to arrange furniture artfully: plan and measure first
- Core design principles the pros actually use
- How DwellForms™ panels help you nail scale without drilling
- Layout templates you can copy this weekend
- Mock-up and install checklist
- Common mistakes and how to fix them
- Timing and budget for a renter-friendly feature wall
- How to size a rug so the room feels grounded
- What are the best no-drill wall decor options for renters?
- How to choose a colour palette that adds shape and movement
- How to balance texture and materials for tactile interest
- How to integrate multifunctional furniture without losing flow
- Key takeaways
- Why removable, colour-led design matters more than people think
- DwellForms™ by Liftedplus: colour without commitment
- Useful sources and next steps
- FAQ
How to arrange furniture artfully: plan and measure first
Good layouts are made on paper, not by hauling sofas across the room.
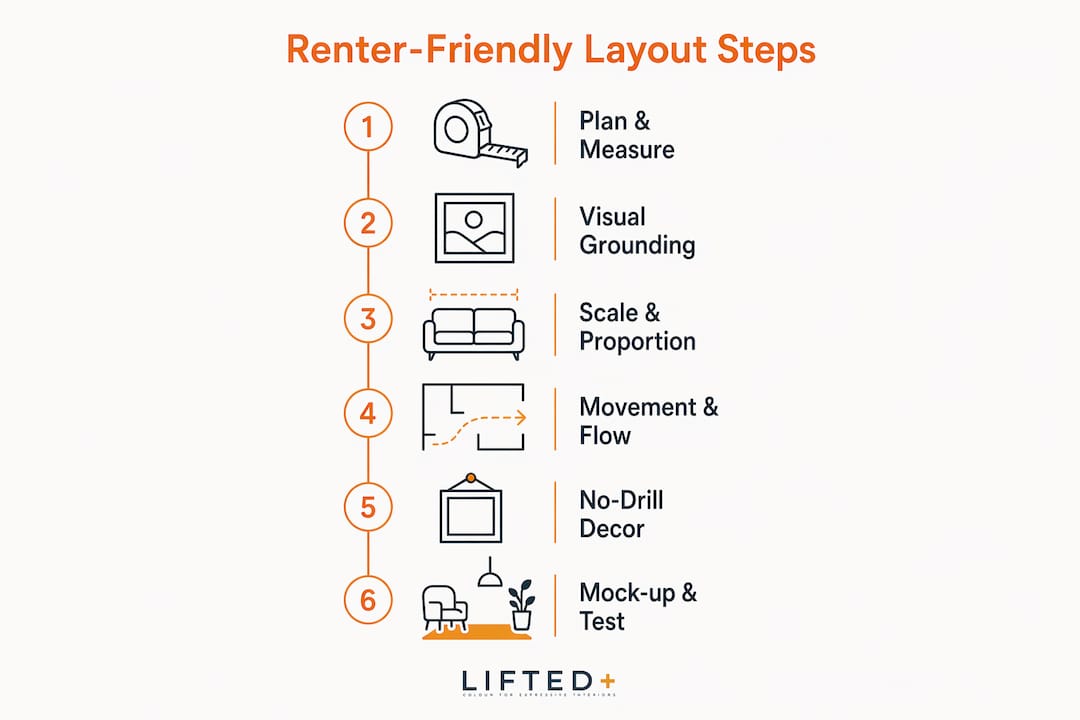
- Measure your room width, sofa or console width, and rug dimensions. Record the sofa width, then calculate two-thirds of that figure — this is your target panel or art width.
- Mark a primary vantage point (usually the main doorway) and photograph the room from there. This single image reveals imbalances that are invisible when you’re standing inside the space.
- Map circulation: identify the main paths between entry, seating, and exits. Mark these with painter’s tape on the floor and keep at least 90 cm clear for comfortable movement.
- Use craft-paper templates cut to furniture scale, or low-tack tape outlines on the floor, to test the layout before moving anything heavy. Mock-up techniques like these validate scale and flow in minutes.
- Mark where your wall panels will sit, centred at approximately 150 cm from the floor for standard Australian ceiling heights.
Pro Tip: Photograph the room from your primary doorway before and after each adjustment. The camera flattens the space and makes proportion problems obvious that your eye forgives in person.
Core design principles the pros actually use
Visual grounding is the foundation. Every significant wall composition needs a furniture partner beneath it — a sofa, bed, console, or desk. Without that anchor, art and panels appear to hover, and the room feels unresolved. Match or proportionally relate widths: a sofa wants a wall composition proportionally smaller to visually anchor the space.
Scale and proportion follow the rule of thirds at every level. On the wall, your art or panel cluster should span a large part of the furniture width below it, centred near eye level height. On the floor, a rug covering approximately two-thirds of the seating footprint stops the furniture from looking adrift. Designers express this as a 2:1 rug-to-seating ratio: the rug should cover about two-thirds of the seating area beneath sofas and chairs for proper visual anchoring.
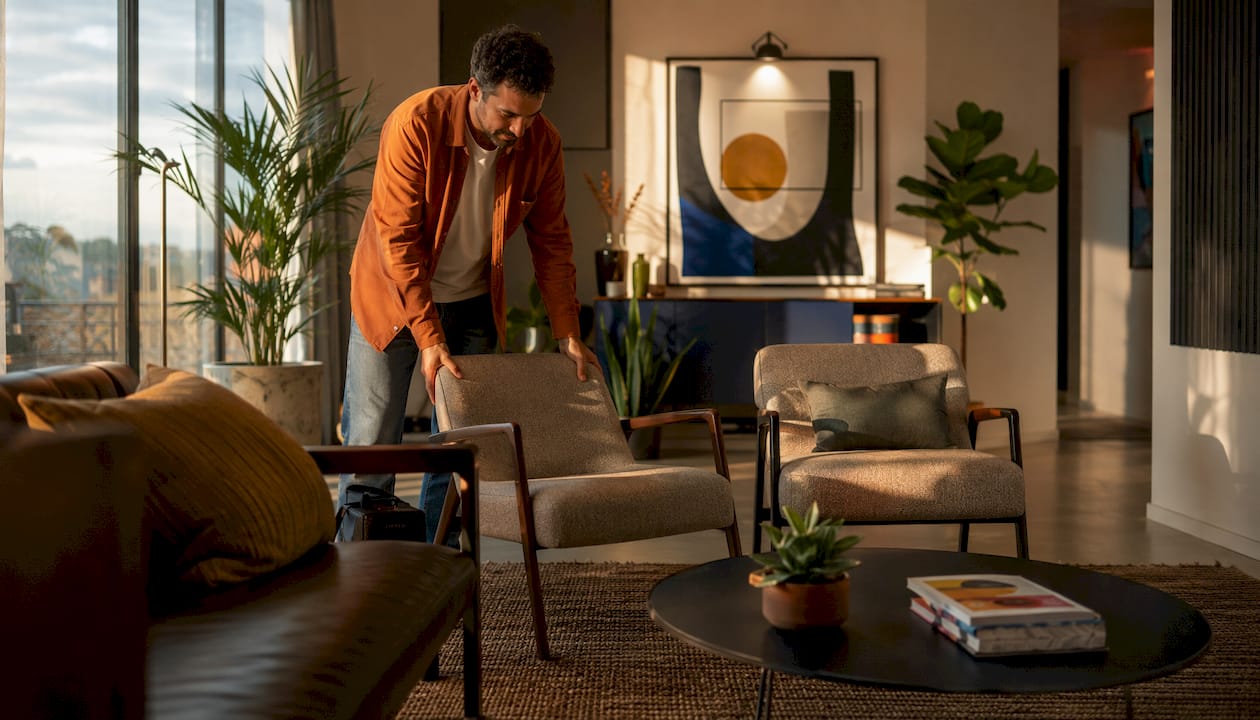
Movement is the quality most rooms lack. Floating furniture away from walls and arranging seating in triangular clusters rather than lines creates conversation and circulation simultaneously. A room where every piece is pushed to the perimeter feels like a waiting room, not a home.
How DwellForms™ panels help you nail scale without drilling
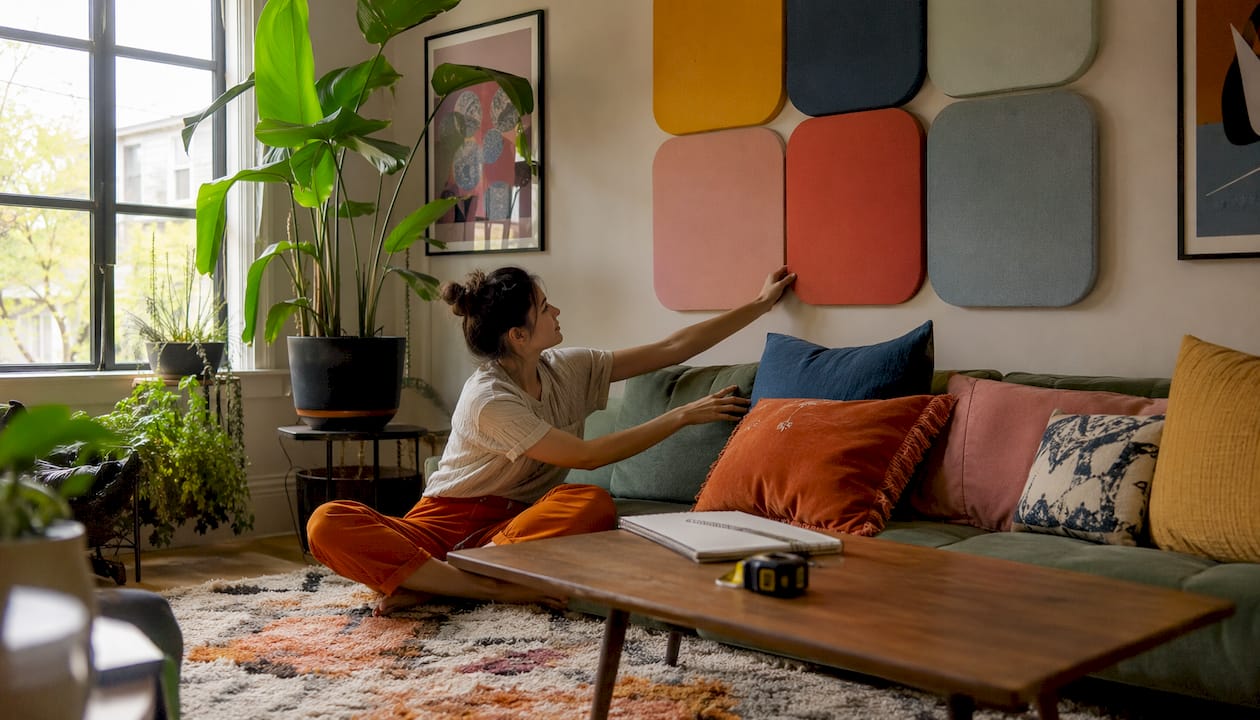
The core problem in most rental rooms is mismatched wall weight: a large sofa beneath a single small print that does nothing to hold the space. DwellForms™ modular PET felt panels solve this precisely because you can add or remove panels until the wall composition reaches the right width for the furniture below. Modular panels let you scale visual weight to match consoles, sofas, or beds in a way that a single framed print rarely can.
- Colour-led anchoring: one bold, considered panel cluster does more than five small floating pieces. Choose a palette that reads as a single composition from the doorway.
- Renter-first installation: DwellForms™ kits include tested adhesive pads. No screws, no battens, no wall damage. Position panels with a 4–6 cm gap above the furniture surface, centred at the 150 cm eye line.
- Leaning option: for a relaxed, gallery-style look that avoids adhesives entirely, lean larger panels against the wall on a console or shelf. This is a fully renter-safe alternative and suits entryways beautifully.
Pro Tip: Order a DwellForms™ colour swatch pack and pin samples to your wall for 24–48 hours. Colour reads differently under artificial evening light than it does at midday — confirm before you commit.
Layout templates you can copy this weekend
Living room: Centre a panel cluster sized to two-thirds of your sofa width on the wall above the sofa. Add a rug that extends at least 30 cm beyond the sofa on each side. Pull two chairs or a pouf into a triangle with the sofa to create a conversation cluster rather than a line. For living room styling that holds together, the wall, floor, and seating arrangement need to work as one composition.
Bedroom: Centre panels above the headboard, matching panel width to the bed or headboard width. Leave a 4–6 cm gap between the top of the headboard and the bottom of the lowest panel. A single wide landscape or a triptych arrangement is the most restful choice.
Hallway/entry: A narrow vertical panel run or staggered small panels lead the eye forward without blocking flow. Group pieces closely — 1–5 cm spacing — and align centres along a single horizontal line at 150 cm. Lean a larger panel on a console for a layered, effortless entry.
Home office: Position panels behind the desk as a colour-led backdrop, scaled to desk width. Smaller clusters can frame shelving to add rhythm without visual noise. Use lighting to lift the panel colours in the evening.
Mock-up and install checklist
What you need: measuring tape, painter’s tape or craft paper, a spirit-level app on your phone, a pencil, a dust cloth, and your DwellForms™ sample kit or panels with supplied adhesive pads.
- Measure the wall zone and mark the panel footprint with painter’s tape.
- Cut craft-paper templates to panel size and blu-tack them to the wall. Step back to the doorway and assess.
- Adjust template positions until the composition feels balanced with the furniture below.
- Wipe the wall surface clean and dry with a dust cloth — adhesive pads bond best to a clean surface.
- Peel and press adhesive pads onto panels, then position firmly on the wall.
- Step back, photograph from the doorway, and make any final adjustments before the adhesive fully sets.
Time estimates: a small vignette takes 1–2 hours; a living-room feature wall including mock-up runs 3–6 hours; a whole-apartment refresh is a comfortable weekend project.
Common mistakes and how to fix them
Art too small for the furniture. A single small panel above a large sofa is the most common error. Add panels or create a multi-panel cluster until the composition reaches roughly two-thirds of the sofa width. The fix is additive, not a replacement.
Furniture blocking flow. When pieces are pushed flush against each other or against walls, the room loses air. Float a seating piece 10–20 cm from the wall to open sightlines and create a sense of depth.
Colours fighting the room. Bold panels need a neutral counterweight. Add one calm element — a linen rug, a stone-coloured cushion — to give the eye a resting point without dulling the overall palette. For more on balancing bold colour, the principle is restraint in the textiles, confidence in the wall.
Pro Tip: If adhesive pads feel uncertain on a particular surface, test a single small panel in an inconspicuous spot for 24 hours before installing the full arrangement. Leaning panels on a console is always a valid renter-safe alternative.
Timing and budget for a renter-friendly feature wall
| Project scope | Time | Likely kit cost | Tip |
|---|---|---|---|
| Single vignette | 1–2 hours | Sample/swatch pack (low) | Start here to test colour and scale before committing |
| Single feature wall | 3–6 hours | Core kit (low–medium) | Sample cost is credited toward a full kit order |
| Multi-room refresh | Weekend to 2–3 days | Core kit + extension packs (medium) | Plan all rooms in one session; order extension packs to scale |
Factor in small tool purchases (spirit level, craft paper) and optional styling items like cushions and a rug. The sample kit is the lowest-risk entry point: the cost is credited toward a full order, so it functions as a try-before-you-buy step. For ideas on refreshing your space without renovation, the principle is the same: test small, then commit.
How to size a rug so the room feels grounded
A rug that is too small is the single most common reason a seating arrangement looks unanchored. The target is for the rug to cover approximately two-thirds of the floor area under your seating group. In practical terms, all front legs of sofas and chairs should sit on the rug, with the rug extending at least 30 cm beyond the outermost seat on each side.
The 2:1 rug-to-seating ratio gives you a quick check: the rug should cover about two-thirds of the seating area beneath sofas and chairs for proper anchoring. In a standard Australian living room with a three-seat sofa, this typically means a rug of at least 200 x 300 cm. Add the rug before you finalise any other furniture position — it anchors everything else.
What are the best no-drill wall decor options for renters?
Adhesive-pad panel systems, leaning art, and removable hook systems are the three practical categories. Adhesive pads — like those supplied with DwellForms™ kits — hold modular panels firmly without marking most painted surfaces. Leaning larger panels or framed art on a console or shelf is fully commitment-free and creates a layered, gallery-style aesthetic. For renter-friendly home decor that still feels considered, the key is treating the wall as a composition rather than a pinboard: fewer, larger elements anchored to furniture always read better than many small pieces scattered at random.
Always clean and dry the wall surface before applying adhesive pads, and test on an inconspicuous spot if you are uncertain about the paint finish.
How to choose a colour palette that adds shape and movement
Colour is not decoration. It is atmosphere, identity, and intent. A single, well-chosen palette applied to a panel cluster does more for a room than a dozen competing accents. Start with the undertone of your largest neutral — the sofa, the rug, the floor — and choose a panel colour that either harmonises (analogous) or creates deliberate contrast (complementary). For colourful interiors that hold together, the rule is one dominant colour on the wall, one supporting tone in the textiles, and one neutral to breathe.
Modular panels add shape and movement because you can arrange them asymmetrically, stagger heights, or cluster them tightly to create a sculptural silhouette. That silhouette is what gives a wall its architectural presence — the sense that the wall is doing something, not just holding a picture.
How to balance texture and materials for tactile interest
A room that reads well visually but feels flat to the touch is missing something. Texture is what makes a space feel inhabited. Pair the matte, slightly soft surface of PET felt panels with the weave of a linen cushion, the pile of a wool rug, and the grain of a timber shelf. Each material catches light differently, and that variation is what creates warmth.
The discipline is restraint: three or four distinct textures are enough. More than that and the room begins to compete with itself. Let the panels carry the colour, the rug carry the softness, and one or two hard materials — ceramic, timber, glass — provide contrast and weight.
How to integrate multifunctional furniture without losing flow
Multifunctional furniture — a storage ottoman, a desk that doubles as a console, a sofa bed — earns its place only when it does not compromise circulation or visual clarity. Position multifunctional pieces so their secondary function is accessible without rearranging the room: a storage ottoman should open toward a clear path, not toward the sofa.
Scale is the other consideration. Multifunctional pieces tend to be bulkier than their single-purpose equivalents. Compensate by keeping the wall composition above them lean and considered — a tightly grouped panel cluster rather than an expansive gallery wall. For small apartment layouts where every piece works double duty, the wall becomes the expressive element precisely because the furniture must be practical.
Key takeaways
Artful furniture arrangement comes down to three measurable relationships: wall to furniture, furniture to floor, and seating to circulation.
| Point | Details |
|---|---|
| Ground wall art to furniture | Art or panels should span roughly two-thirds of the furniture width below, centred at ~150 cm from the floor. |
| Use the rug as an anchor | A rug covering two-thirds of the seating footprint stops furniture from looking adrift; all front legs should sit on it. |
| Keep 90 cm pathways clear | Main walkways need at least 90 cm of clear passage for comfortable circulation in any room. |
| Mock up before you install | Use craft-paper templates and painter’s tape to test scale and position before touching the wall. |
| DwellForms™ panels scale to any furniture | Add or remove modular panels until the wall composition matches the furniture width — no drilling required. |
Why removable, colour-led design matters more than people think
The conventional wisdom on renting is to keep walls neutral and wait. That advice protects the deposit but costs something harder to quantify: the feeling that a space is genuinely yours. A home that feels temporary tends to be treated temporarily, and that affects how people live in it, not just how it looks.
What DwellForms™ represents is a different premise: that colour and considered design are not privileges reserved for owners. The panel system was designed specifically so that the quality of the wall composition — the scale, the palette, the sculptural presence — is not diminished by the renter-friendly method of installation. The adhesive pads are not a compromise. They are the point.
The readers who get the most from this approach are the ones who treat the mock-up stage seriously. Spend an hour with craft paper and tape before you order anything. The room will tell you what it needs.
DwellForms™ by Liftedplus: colour without commitment
Blank rental walls are not a design problem you have to accept. DwellForms™ by Liftedplus offers modular PET felt wall panel kits made from 100% recycled materials, installed with tested adhesive pads and removable without renovation. Each kit is designed to scale to your furniture — add extension packs to widen the composition, or start with a colour swatch pack to test the palette in your light before committing.

The swatch pack cost is credited toward a full kit order, so the try-before-you-buy step costs you nothing in the end. Browse the DwellForms™ Skyline Kit for a statement living-room feature wall, or explore the full core kit range to find the right scale for your space. Order a sample kit today and see what colour does to a room you thought was finished.
Useful sources and next steps
- DwellForms™ no-reno wall panel overview — start here for the full kit range and installation guidance.
- Recycled PET felt panels: material and design guide — explains material provenance, sustainability credentials, and kit selection.
- Feature wall ideas without paint — nine non-permanent approaches for renters and homeowners.
- Living room feature wall without renovation — practical guide with layout examples for the most-used room in the home.
- Try a one-wall vignette before committing to a full feature wall. Order a colour swatch pack, pin samples to the wall for 48 hours, and confirm the palette reads well in your specific light before placing a full kit order.
FAQ
How wide should wall art be above a sofa?
Art or a panel cluster above a sofa should span roughly two-thirds of the sofa width, centred at approximately 150 cm from the floor.
How much floor space should a rug cover under seating?
A rug should cover approximately two-thirds of the seating footprint, with all front legs of sofas and chairs sitting on it.
Can I create a feature wall in a rental without drilling?
Yes. DwellForms™ modular PET felt panels install with tested adhesive pads — no screws, no battens, no permanent marks. Leaning larger panels on a console or shelf is a fully commitment-free alternative that creates a relaxed, gallery-style look.
How do I stop furniture from looking disconnected from the wall?
Visual grounding is the fix: every wall composition should have a furniture partner beneath it, with the art or panel width matched to roughly two-thirds of the furniture below. A single small piece above a large sofa will always look adrift — scale the wall composition up until the relationship feels resolved.
How long does it take to install a feature wall with DwellForms™ panels?
A small vignette takes 1–2 hours including mock-up. A single feature wall runs 3–6 hours. A multi-room refresh is a comfortable weekend project, particularly when you plan all rooms in one session and order extension packs to scale each wall to its furniture.