
TL;DR:
- Building a sculptural focal wall with removable modular panels and layered lighting creates a dramatic room transformation without permanent changes.
- Renters can safely install DwellForms™ panels using tested adhesive pads, which can be removed cleanly when moving.
- Planning the layout carefully through sketching and testing helps avoid costly mistakes and ensures a cohesive, impactful design.
The fastest way to transform a living space is to build one sculptural focal wall using removable modular panels, then layer three types of lighting over it and anchor the room with tactile textiles. That sequence, drawn from design hierarchy, produces the biggest visible shift for the least disruption. For renters and apartment dwellers, it means colour and character without paint, drilling, or a landlord conversation you’d rather avoid.
Three moves you can make this afternoon:
- Order a DwellForms™ sample kit from Liftedplus and hold the panels against your wall to test colour and scale before committing.
- Add one floor lamp or table lamp to create an accent layer beside the focal wall.
- Lay a rug large enough that the front legs of your sofa sit on it, grounding the furniture arrangement.
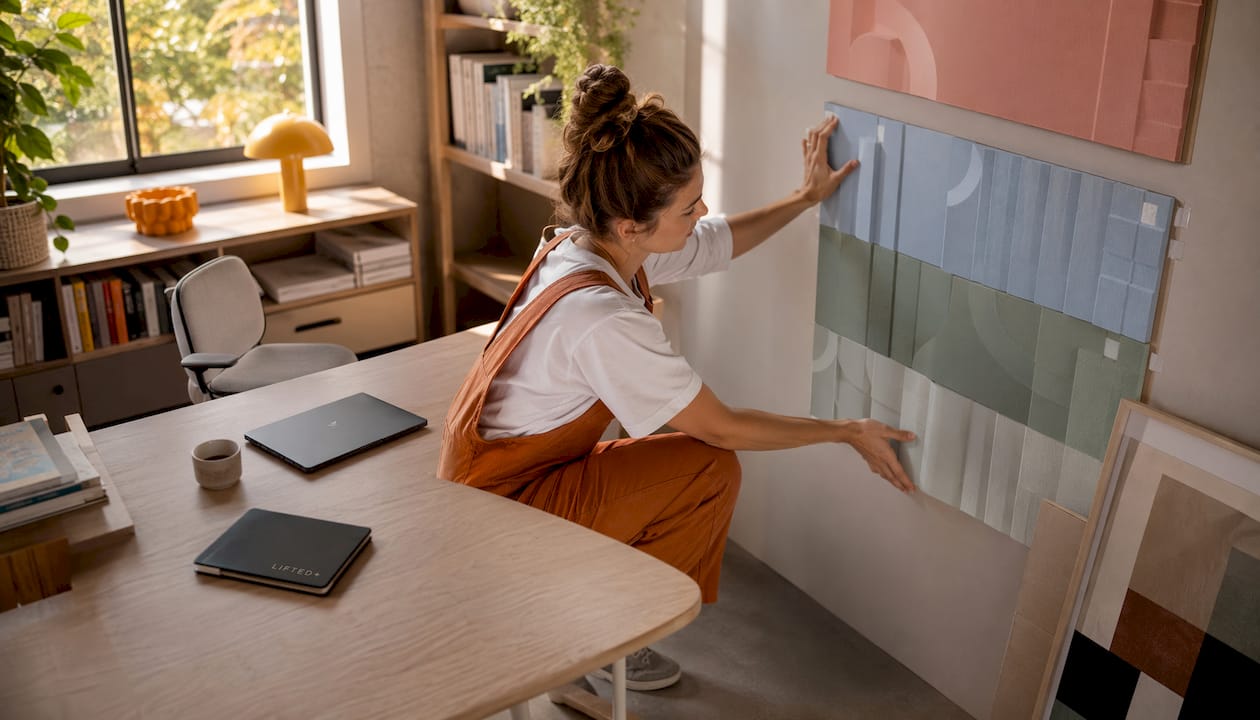
DwellForms™ by Lifted+ is a modular, no-drill wall panel system made from 100% recycled PET felt. Panels fix to the wall with tested adhesive pads, come away cleanly, and travel with you to the next home. Colour without commitment, texture without renovation.
Pro Tip: Before you order a full kit, buy the sample kit first. The cost credits towards your full purchase, and seeing the actual colour and texture on your specific wall in your specific light is worth every cent.
Table of Contents
- How to transform your living space: the right sequence
- What are your no-drill wall options as a renter?
- Why sketching your layout before you buy saves money
- What to expect when you install and remove a no-drill wall system
- How to style your finished wall with lighting, textiles and plants
- How to take your panels with you when you move
- Key takeaways
- Colour without compromise: why removable design matters now
- Ready to put colour on your walls without the commitment?
- Useful sources
- FAQ
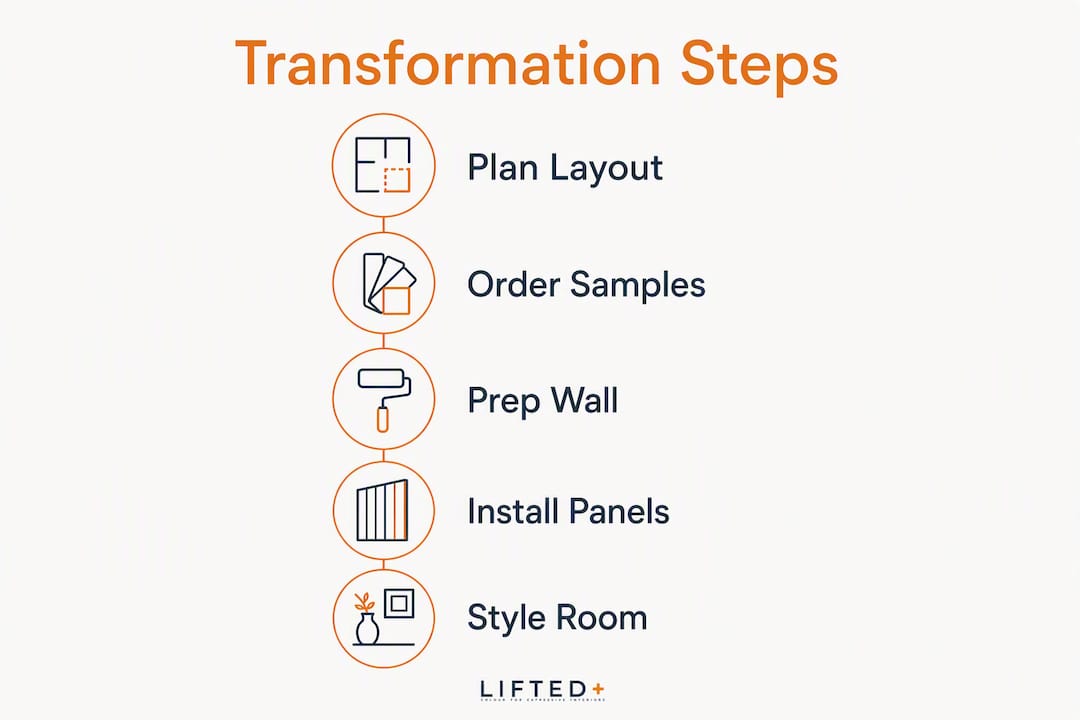
How to transform your living space: the right sequence
Spending money in the wrong order is the most common makeover mistake. Designers consistently recommend establishing a focal point before touching anything else, because every other decision anchors to it.
- Pick your focal wall. Choose the wall that faces you when you enter the room, or the one behind the sofa. One cohesive focal point creates a stronger architectural anchor than scattered small items across multiple walls.
- Sketch and measure. Map the wall dimensions before you buy anything. Scale errors are the most common mistake with modular systems.
- Choose your no-drill wall element. Removable modular panels like DwellForms™ give sculptural depth and colour without paint or permanent fixings.
- Layer your lighting. Add ambient, task, and accent sources. A single overhead light flattens a room.
- Add textiles and plants. Rugs, cushions, curtains, and a plant or two bring warmth and contrast to structured panels.
- Final styling. Artwork, objects, and personal pieces complete the composition.
A simple scorecard covering lighting, colour, furniture scale, textiles, storage, and focal point helps you prioritise before you spend.
| Budget tier | Typical spend (AUD) | What it covers |
|---|---|---|
| Low-budget refresh | Under $500 | Rug, one lamp, textiles, sample kit |
| Mid-range refresh | $3,000–$8,000 | Modular wall kit, rug, lighting, textiles |
| Full room refresh | — | New furniture, full wall treatment, window dressings, lighting |
Cost bands sourced from room makeover research. AUD figures are indicative; check current product pricing.
Pro Tip: Cut paper templates to the size of your panels and tape them to the wall first. Live with the layout for a day before you peel a single adhesive pad.
What are your no-drill wall options as a renter?
Not every removable option suits every wall or every renter. Here is a high-level comparison to help you choose.
| Option | Install method | Visual impact | Cost band (AUD) | Best for |
|---|---|---|---|---|
| Modular PET panels (DwellForms™) | Tested adhesive pads | High — sculptural, architectural | — | Feature walls, colour-led impact |
| Large removable art/prints | Command strips or picture rail | Medium | — | Gallery walls, minimal commitment |
| Adhesive decals/graphics | Peel-and-stick | Low–medium | — | Accents, children’s rooms |
| Tapestry/textile hangings | Top-hung rod, no drilling | Medium | — | Soft, bohemian or layered looks |
| Picture-rail or top-hung systems | Existing rail or adhesive hook | Medium | — | Renters with picture rails |
Key considerations for renters:
- Professional-grade adhesive pads distribute weight across multiple contact points, reducing paint-lift risk compared with single-point or solvent-heavy stickers.
- Always check your lease for any clause about wall fixings or adhesives before you start.
- Flat or low-sheen paint finishes hold adhesive better than high-gloss or textured surfaces.
- For gallery wall layouts in small spaces, keep spacing between pieces to 3–5 inches for a cohesive result.
DwellForms™ ships to Australia. Sample kits let you test colour and adhesion on your specific wall before ordering a full kit.
Pro Tip: Photograph your wall in natural morning light and again under artificial evening light before choosing a colour. The same panel reads differently at 8am and 8pm.
Why sketching your layout before you buy saves money
Designers are consistent on this point: sketch before you purchase, especially for modular systems. A panel arrangement that looks right on a product page can feel undersized or off-centre on your actual wall.
Measurements to take before you order:
- Wall width and height (floor to ceiling)
- Height of skirting boards and cornices
- Position of power points, light switches, and data ports
- Window and door swing clearances
- Distance from the nearest furniture piece to the wall
Once you have those numbers, sketch the wall to scale on graph paper or use a free room-planning app. Test different panel orientations: intentional spacing and varied angles cast deliberate shadows and create depth, whereas flat, uniformly spaced panels can read as decorative wallpaper rather than architectural form.
Rules of thumb worth keeping:
- The focal wall element should span at least one-third of the wall’s width to hold the room.
- The front legs of all main seating pieces must sit on the rug, not float beside it.
- Hang artwork 6–10 inches above the furniture it relates to, no higher.
Photograph your paper-template layout at different times of day to check how light and shadow fall across the arrangement. Then document the wall condition with photos before you fix anything. Save those images and your adhesive instructions together.
Pro Tip: Check living room styling tips for anchor-piece sequencing before you finalise your layout.
What to expect when you install and remove a no-drill wall system
Installation checklist:
- Clean the wall surface with a dry or lightly damp cloth and allow it to dry fully.
- Check that the paint finish is compatible (flat or low-sheen is best; test an inconspicuous patch first on high-gloss or older plaster).
- Use only the tested adhesive pads supplied or recommended for your modular system.
- Start from the centre of your planned arrangement and work outward to keep the composition balanced.
- Press each pad firmly for the manufacturer’s recommended hold time before releasing.
Removal checklist:
- Pull each panel away slowly at a low angle, never straight out from the wall.
- Follow the adhesive-specific removal instructions; most tested pads release cleanly when pulled parallel to the surface.
- If resistance increases, stop and apply gentle warmth with a hairdryer on a low setting before continuing.
- Inspect the wall after each panel and address any minor marks immediately.
Older plaster walls and walls with inconsistent or repainted finishes carry a higher risk of paint lift with any adhesive system. Always test a single pad on a hidden patch and leave it for 24 hours before installing a full kit. When in doubt, ask your landlord before you start.
| Kit size | Approximate cost (AUD) | Estimated install time |
|---|---|---|
| Sample kit | $30–$60 | — |
| Starter / core kit (one feature wall) | Under $500 | 1–2 hours |
| Mid-range room panels | $3,000–$8,000 | 2–4 hours |
Figures are indicative. Check current pricing on the Liftedplus website.
For renter-friendly wall decor ideas that go beyond panels, the Liftedplus site covers a range of no-drill approaches suited to different wall types and lease conditions.
How to style your finished wall with lighting, textiles and plants
Colour functions as atmosphere and identity. A sculptural, coloured focal wall gives warmth and defines a room’s character more effectively than conservative neutrals alone. The styling layer around it either amplifies that or undermines it.
Colour: Use the 60–30–10 rule as a starting point. Most of the room in a dominant tone (walls, large furniture), a secondary portion in a contrasting colour (textiles, rug), and a small accent portion that echoes or contrasts the panel palette. For bold removable palettes, the colour palette guide for open-plan living on the Liftedplus site is a practical reference.
Lighting: A well-designed living room needs all three layers.
- Ambient — fills the room with general light (overhead fitting, natural light).
- Task — directed light for reading or working (floor lamp beside a chair, desk lamp).
- Accent — draws the eye to the focal wall or a specific object (a directional lamp angled at the panels, a wall sconce).
A floor lamp placed to one side of the feature wall casts raking light across the panel surface, deepening shadows and making the sculptural form read more dramatically after dark.
Textiles: A tactile layer paired with structured modular panels creates the contrast that makes a room feel collected rather than simply furnished. Bouclé cushions, a linen throw, and floor-length curtains all add softness against the geometry of the panels.
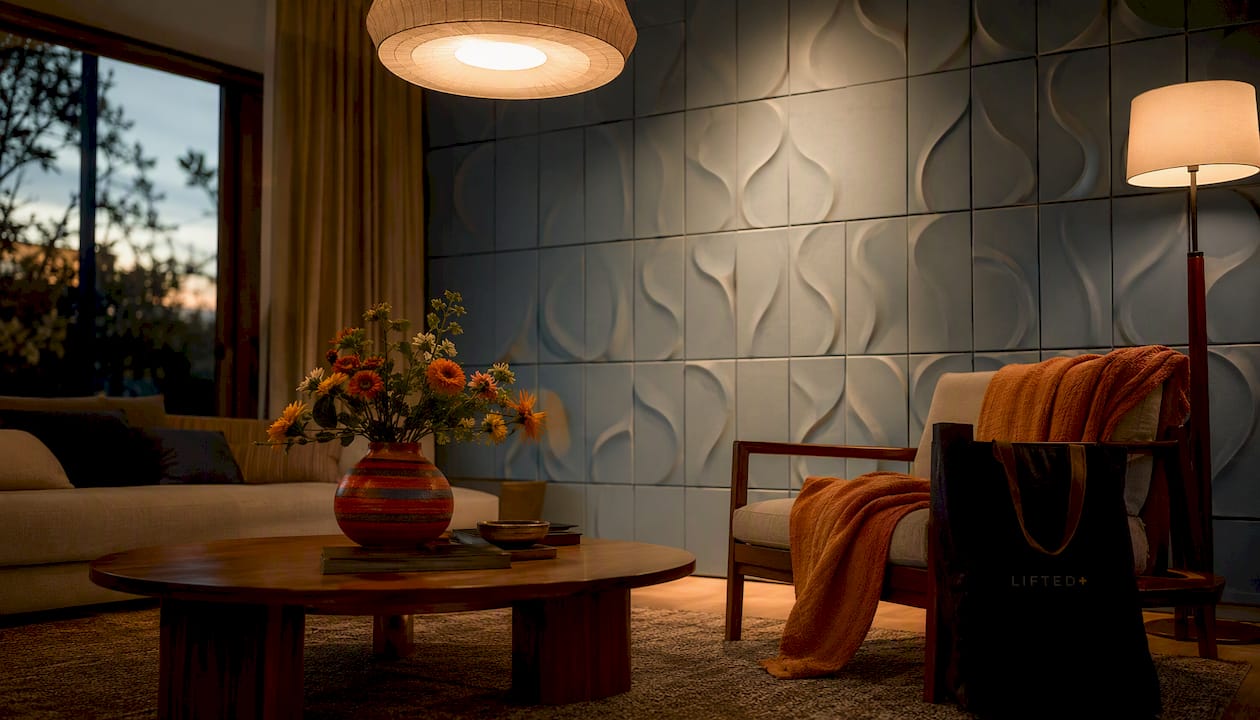
Plants: One or two plants at different heights balance the scale of a feature wall without competing with it. A tall indoor plant beside the wall adds a vertical element; a trailing plant on a shelf introduces organic contrast.
How to take your panels with you when you move
Modular panels are an investment that should outlast a single tenancy. Handled well, they reinstall beautifully in your next home.
Storage:
- Store panels flat, never stacked on an edge, to prevent warping.
- Keep them away from direct heat sources and prolonged sunlight during storage.
- Retain the original packaging or use flat cardboard sheets between panels.
- Store unused adhesive pads in their original sealed packaging to preserve tack.
Maintenance:
- Dust panels monthly with a soft, dry cloth or a low-suction vacuum brush attachment.
- Spot-clean PET felt with a lightly damp cloth and allow to air-dry fully before reinstalling.
- Replace adhesive pads if tack has reduced or if panels were removed and reinstalled more than once.
Families and pet owners:
- Avoid placing panels within reach of young children at lower heights where small detachable pieces could be accessible.
- For households with pets, check panel edges periodically for scratching or pulling and re-secure any lifted corners promptly.
- Clean pet hair from felt surfaces with a lint roller or soft brush rather than water.
Key takeaways
A no-drill, colour-led focal wall anchored with tested adhesive panels, layered lighting, and tactile textiles is the most immediate way to transform a living space without permanent changes.
| Point | Details |
|---|---|
| Focal wall first | One cohesive sculptural focal point anchors furniture and creates stronger impact than scattered items across multiple walls. |
| Sketch before you buy | Map wall dimensions and test paper templates before ordering; scale errors are the most common modular-system mistake. |
| Layer all three lights | Ambient, task, and accent lighting together shift a room’s mood; a single overhead source is never enough. |
| Budget realistically | A meaningful refresh starts under $500 (rug, lamp, textiles, sample kit); a mid-range refresh commonly runs $3,000–$8,000. |
| DwellForms™ by Liftedplus | Modular, removable PET felt panels install with tested adhesive pads, ship to Australia, and travel with you when you move. |
Colour without compromise: why removable design matters now
The prevailing advice for renters has long been to keep things neutral, keep things safe, and keep things forgettable. I think that advice has done more harm than good.
A home that feels genuinely yours is not a luxury. It is the difference between a space you endure and one that actually restores you. Colour is not decoration applied after the real decisions are made. It is atmosphere, identity, and intent, and renters deserve access to it as much as anyone who owns their walls.
What makes removable, modular systems like DwellForms™ genuinely interesting is not just the absence of drilling. It is the modularity: the ability to rearrange, extend, and recolour as your taste and your circumstances change. That kind of flexibility is rare in interior design, where most decisions are either permanent or expensive to reverse. The fact that DwellForms™ panels are made from 100% recycled PET felt adds a dimension that matters to me: the choice to make your home more personal does not have to come at the environment’s expense.
The role of art and colour in living rooms is well documented. What is less often said is that renters have historically been excluded from that conversation. Removable systems change that.
Ready to put colour on your walls without the commitment?
DwellForms™ by Liftedplus gives you a renter-friendly feature wall that installs in an afternoon, removes without fuss, and ships directly to your door across Australia. The sample kit lets you test the colour and adhesion on your actual wall before you commit to a full order, and the cost credits towards your kit purchase.

Start with the DwellForms™ Skyline Kit for a sculptural statement wall, or browse the full range of DwellForms™ core kits to find the scale and palette that fits your space. Every kit uses tested adhesive pads, no drilling required.
Useful sources
- Living room styling tips that actually work — Liftedplus guide to anchor pieces, layout sequence, and styling hierarchy.
- Renter-friendly home decor: 9 ideas that work — Removable decorating ideas with landlord considerations covered.
- No-drill wall decor: creative ideas for every home — Broader no-drill options beyond modular panels.
- DwellForms™ installation and product pages — Installation guidance, layout ideas, and kit options. Read before you order.
- Gallery wall layout tips for small living spaces — Step-by-step gallery layout advice for renters working with limited wall space.
- The role of art in living rooms — Practical art-selection guidance for personalising a feature wall.
Photograph your wall before you start, save your adhesive instructions, and consult your installation guide before ordering.
FAQ
Can renters use modular wall panels without risking their bond?
Tested adhesive pads designed for modular systems distribute weight across multiple contact points and are less likely to damage paint than single-point fixings, but results depend on your wall’s paint finish and condition. Always test a single pad on a hidden patch for 24 hours and check your lease before installing.
How long does a DwellForms™ feature wall take to install?
A starter or core kit covering one feature wall typically takes 1–2 hours from wall prep to finished installation.
What is the best first step to redesign your home on a budget?
Establish a single focal wall before spending on anything else. One cohesive sculptural anchor creates more immediate visual impact than multiple small changes spread across a room, and it costs less than replacing furniture.
How do you remove modular panels without lifting paint?
Pull each panel away slowly at a low angle, parallel to the wall surface, following the adhesive-specific removal instructions. If resistance increases, apply gentle warmth with a hairdryer on a low setting before continuing.
Are DwellForms™ panels available in Australia?
Yes. DwellForms™ by Liftedplus ships to Australia. Sample kits are available to test colour and adhesion before committing to a full kit order.