

TL;DR:
- No drill wall decor options such as adhesive strips, removable wallpaper, leaning objects, and tension rods provide damage-free ways to decorate rental or homeowner walls. Proper surface preparation, respecting weight limits, and careful removal techniques are essential for long-lasting results. These methods enable stylish, flexible, and renter-friendly spaces without permanent modifications.
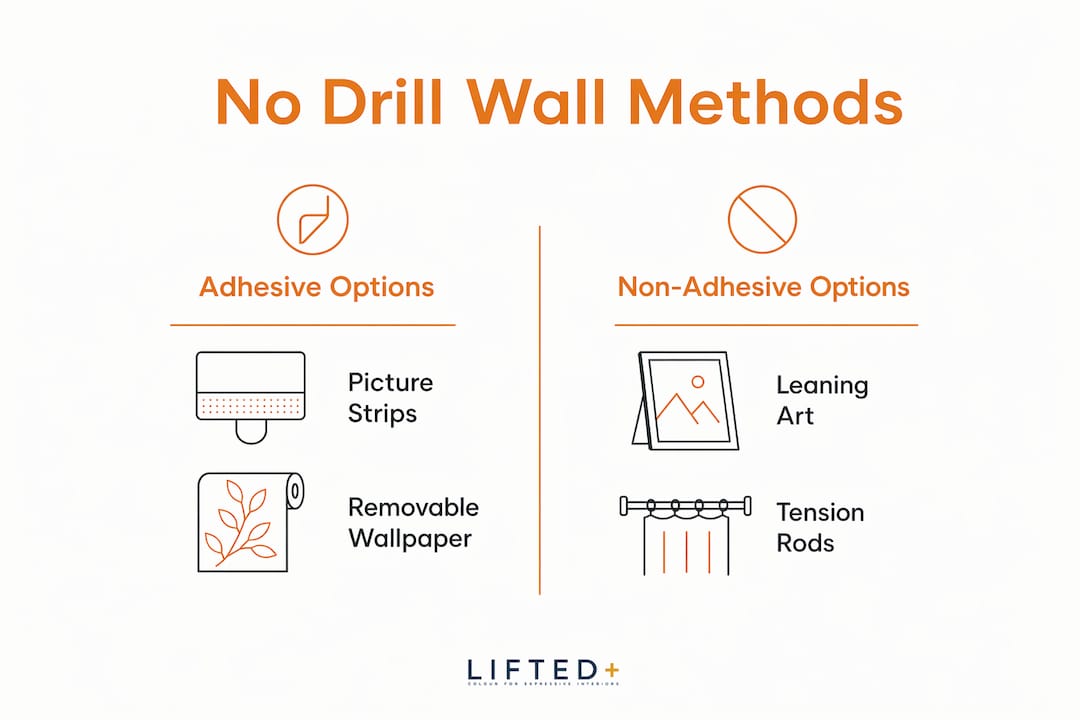
No drill ways to transform blank walls are effective, damage-free solutions that use adhesive strips, removable wallpaper, leaning decor, and tension rods to create stylish spaces without permanent fixtures. These methods suit renters and homeowners alike, respecting lease agreements while delivering real visual impact. Products like 3M Command strips, FrogTape reMOVEables™, and peel-and-stick wallpaper have made wall decor without nails genuinely practical in 2026. You can transform a feature wall for under $200 using a combination of these approaches, with zero risk to your walls.
What tools and materials do you need for no drill wall transformations?
The right materials make the difference between a gallery wall that holds for years and one that crashes at 2AM. Adhesive strips are the foundation of most no-drill approaches, and their weight ratings vary significantly by product and quantity.
FrogTape reMOVEables™ Large Clear Picture Hanging Strips hold up to 16 pounds (7.3 kg) when four pairs are used together on smooth drywall. That capacity covers most framed prints, lightweight canvases, and small mirrors. For heavier pieces, you stack more strips or choose a leaning method instead.
Peel-and-stick wallpaper comes in paper-backed and fabric-backed varieties. Fabric-backed options conform better to slight surface irregularities and remove more cleanly from quality painted walls. Paper-backed versions are more affordable but less forgiving on older or chalky paint finishes.
Tension rods require no adhesive at all. They work by pressing outward against two opposing walls or inside a window recess, held in place purely by friction. Rubber-tipped end caps are non-negotiable for preventing slippage on smooth plaster or tile.
Surface preparation is the step most people skip and later regret. Isopropyl alcohol removes grease, dust, and residue that silently destroy adhesion. A clean surface can double the effective hold of any adhesive strip product.
| Method | Best wall type | Weight capacity | Renter safe |
|---|---|---|---|
| Adhesive strips (e.g. FrogTape reMOVEables™) | Smooth painted drywall | Up to 16 lbs per 4 pairs | Yes |
| Peel-and-stick wallpaper | Quality flat or eggshell paint | Full wall coverage | Yes, if applied correctly |
| Tension rods | Between two parallel walls or recesses | Light to medium textiles | Yes |
| Leaning decor | Any floor surface | Unlimited (floor-supported) | Yes |
Pro Tip: Wipe your wall with isopropyl alcohol and let it dry for at least 60 seconds before applying any adhesive strip. This single step improves hold strength more than any product upgrade.
How to create a stylish gallery wall using adhesive strips
A gallery wall built with adhesive strips can look just as considered and permanent as one hung with nails. The key is treating the process with the same care you would give to any installation.
Start by selecting frames that fall within the weight rating of your chosen strips. Lightweight timber frames and aluminium frames work best. Heavy ornate frames in plaster or thick glass push beyond what most adhesive products handle safely, so set those aside for a leaning arrangement instead.
Follow these steps for a clean, lasting result:
- Lay your frames on the floor first and arrange them until the composition feels right. Photograph the layout before you touch the wall.
- Clean the wall surface with isopropyl alcohol and allow it to dry completely.
- Attach the adhesive strips to the back of each frame according to the manufacturer’s instructions. Press firmly for 30 seconds.
- Remove the backing from the wall-side of the strips and press each frame against the wall for a full 30 seconds. Apply even pressure across the entire frame back.
- Wait one hour before hanging anything on the frame or adjusting its position.
- Check the weight of each piece against the strip capacity. Overloading adhesive strips beyond their rated capacity is the most common cause of gallery wall failure.
The layout itself shapes how the wall reads. Odd numbers of frames create more visual tension and interest than even groupings. Mixing portrait and landscape orientations adds rhythm. Keeping consistent spacing of around 5–8 cm between frames gives the arrangement a deliberate, curated quality rather than a cluttered one.
Pro Tip: If your wall has a slight texture, press a small piece of adhesive strip onto it and leave it for 24 hours before committing to a full installation. This patch test tells you exactly what you are working with.
What are the best no drill options for large wall decor and mirrors?
Leaning large artwork and mirrors against the wall is the approach designers favour when they want maximum impact without permanent commitment. It reads as intentional rather than unfinished when executed with the right scale and placement.
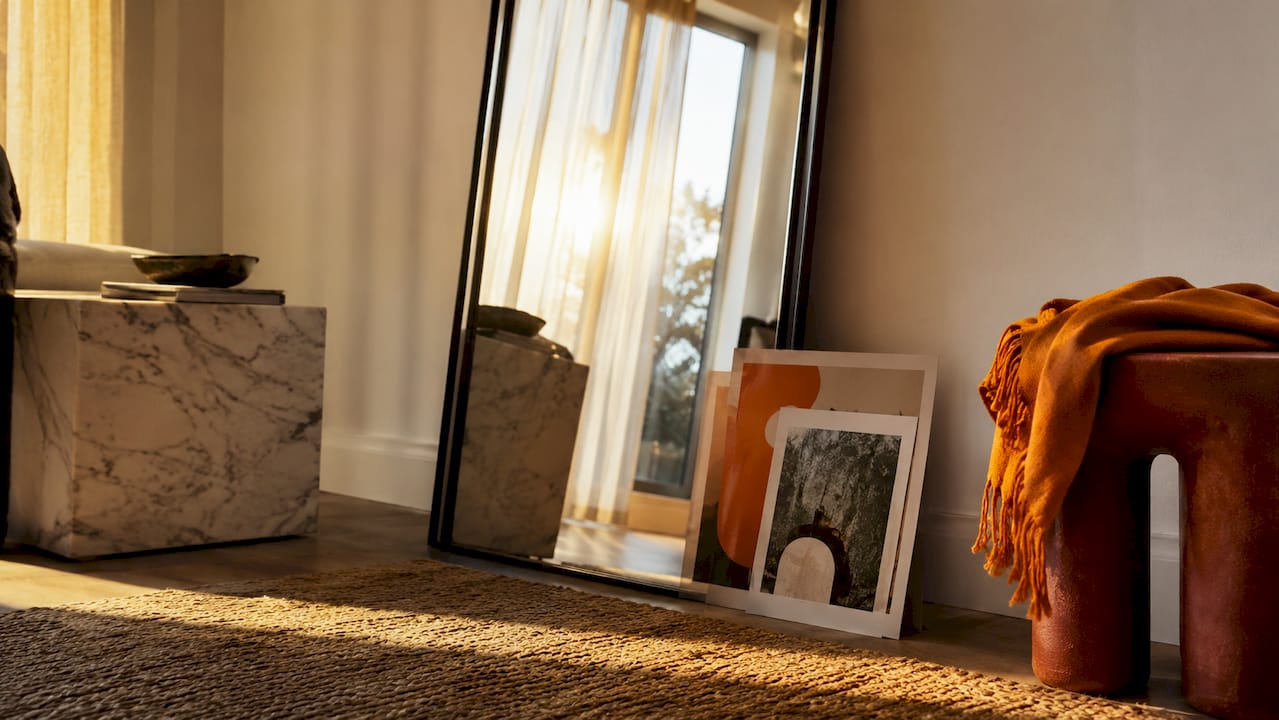
A large leaning mirror, particularly one at 100×150 cm or bigger, bounces natural light across a room and makes the space feel physically larger. Leaning mirrors increase perceived room size and amplify available light in a way that a wall-mounted mirror of the same size cannot replicate, because the slight forward angle catches light from a wider arc.
Positioning matters as much as scale. Place a leaning mirror or large canvas so it sits against a wall that receives indirect natural light. Avoid positioning it directly opposite a window, which creates glare rather than a warm, diffuse glow.
Safety is the one area where leaning decor requires real thought:
- Use anti-slip rubber mats or furniture pads beneath the base of any leaning piece to prevent it sliding forward.
- In homes with children or pets, secure the top of large mirrors to the wall with a single adhesive strip or a small furniture anchor strap. This adds stability without drilling.
- Keep leaning pieces away from high-traffic corridors where they could be knocked.
- Choose frames with a low centre of gravity. Wide, squat proportions lean more stably than tall, narrow ones.
Layering art with furniture creates a composed, textured look that feels lived-in and considered. A large canvas leaning behind a console table, with a small sculptural object placed in front, pulls the eye through three planes of depth. That layering is what separates a styled space from a decorated one.
Pro Tip: Prop a large piece of artwork against the wall at a slight angle rather than perfectly vertical. The lean adds a relaxed, gallery-like quality that flat-mounted pieces rarely achieve.
Can peel-and-stick wallpapers and tension rods transform walls without damage?
Removable wallpaper is the most dramatic no-damage wall idea available to renters. A single feature wall covered in a bold geometric or textural print changes the entire character of a room, and the whole thing peels off cleanly when you leave. Peel-and-stick wallpapers remove cleanly when applied to quality flat or eggshell paint, but they carry real risk on chalky, textured, or older surfaces.
Always test a 30 cm square patch in an inconspicuous corner before committing to a full wall. Leave the test patch for 48 hours, then remove it slowly. If paint lifts with it, the surface is not suitable without a primer coat or a different product.
Measuring accurately before you cut is equally critical. Walls are rarely perfectly plumb. Measure the height in at least three spots across the wall and cut to the longest measurement. This prevents short panels that leave gaps at the ceiling or skirting board.
Tension rods open up a different category of easy wall transformations: fabric feature walls. Large woven tapestries hang beautifully from tension rods positioned between two walls or supported by command hooks at ceiling height. The textile adds warmth, texture, and acoustic softness that paint and wallpaper cannot provide.
For tension rods to hold reliably, measure the wall width in three spots and set the rod to the tightest measurement. Rubber end caps create the friction that keeps the rod in place. Without them, even a correctly sized rod will drift and drop over time.
Pro Tip: When hanging a tapestry on a tension rod, fold the top edge of the fabric over the rod by 10–15 cm and secure it with small clips. This distributes the weight evenly and prevents the fabric from bunching at the centre.
What common mistakes should you avoid with no-drill wall decorating?
Poor surface preparation is the single biggest cause of adhesive failure. Dust, cooking grease, and even the natural oils from your hands create an invisible barrier between the strip and the wall. Clean every surface before any application, without exception.
Overloading strips is the second most common error. Adhesive products have clear weight ratings, and exceeding them does not cause gradual slipping. It causes sudden, complete failure, often taking paint with it. Check the weight of every frame before you commit to a strip count.
Incorrect removal technique causes more paint damage than the original installation. Pulling adhesive strip tabs slowly downward, close to the wall surface, releases the adhesive gradually without tearing the paint. Pulling outward or at an angle concentrates force on a single point and strips paint reliably.
Rushing removal is where most no-drill projects go wrong. The installation takes patience, but the removal takes more. Pull the tab down slowly, parallel to the wall, and let the adhesive release on its own terms. A strip that took 10 seconds to apply may need 60 seconds to remove cleanly.
Textured walls present a specific challenge. Adhesive strips rely on maximum surface contact, and texture reduces that contact area significantly. On brick, rough render, or heavily textured paint, even the best adhesive strips will underperform. Leaning decor or tension rod methods are the better choice for these surfaces.
Pro Tip: Test a small area before full installation on any wall you are unsure about. Stick a strip, leave it for 24 hours, then remove it using the correct technique. If the paint holds, you are clear to proceed.
Key takeaways
No drill wall decoration succeeds when you match the right method to your wall type, prepare surfaces properly, and respect product weight limits.
| Point | Details |
|---|---|
| Surface preparation is critical | Clean walls with isopropyl alcohol before applying any adhesive strip to maximise hold. |
| Match method to wall type | Use leaning or tension rods on textured walls where adhesive strips lose contact and fail. |
| Respect weight ratings | FrogTape reMOVEables™ hold up to 16 lbs with four pairs; never exceed the rated capacity. |
| Remove strips correctly | Pull tabs slowly downward, parallel to the wall, to avoid lifting paint on removal. |
| Test before committing | Apply a patch of wallpaper or a single strip for 48 hours before covering an entire wall. |
Why no-drill decorating changed how I think about rental spaces
I spent years treating rental walls as a limitation. White walls felt like a rule rather than a canvas, and I kept my decor small and cautious as a result. The shift came when I started treating no-drill methods as a genuine design discipline rather than a workaround.
What surprised me most was how much creative freedom these techniques actually offer. Leaning a large canvas against a wall and layering objects in front of it produces a depth and intentionality that a single hung print rarely achieves. The impermanence becomes part of the aesthetic. You can rearrange, reconsider, and refine without committing to holes in the plaster.
The 2026 range of removable wallpapers and adhesive products has genuinely closed the gap between renter-safe and permanent solutions. The quality of peel-and-stick finishes now rivals traditional wallpaper in texture and print resolution. Adhesive strips hold weights that would have seemed implausible five years ago. If you want renter-friendly wall decor that holds its own aesthetically, the tools are there.
My honest advice: stop treating the no-drill constraint as something to work around. Treat it as a creative brief. Some of the most considered interiors I have seen were built entirely without a single nail.
— Michelle
Liftedplus and the art of the well-dressed wall
Liftedplus curates wall art for modern NZ homes with a particular focus on pieces that carry presence without requiring permanent installation. Every work in the collection is selected for its ability to hold a room, whether it is leaned against a wall, hung on adhesive strips, or positioned as part of a layered composition.
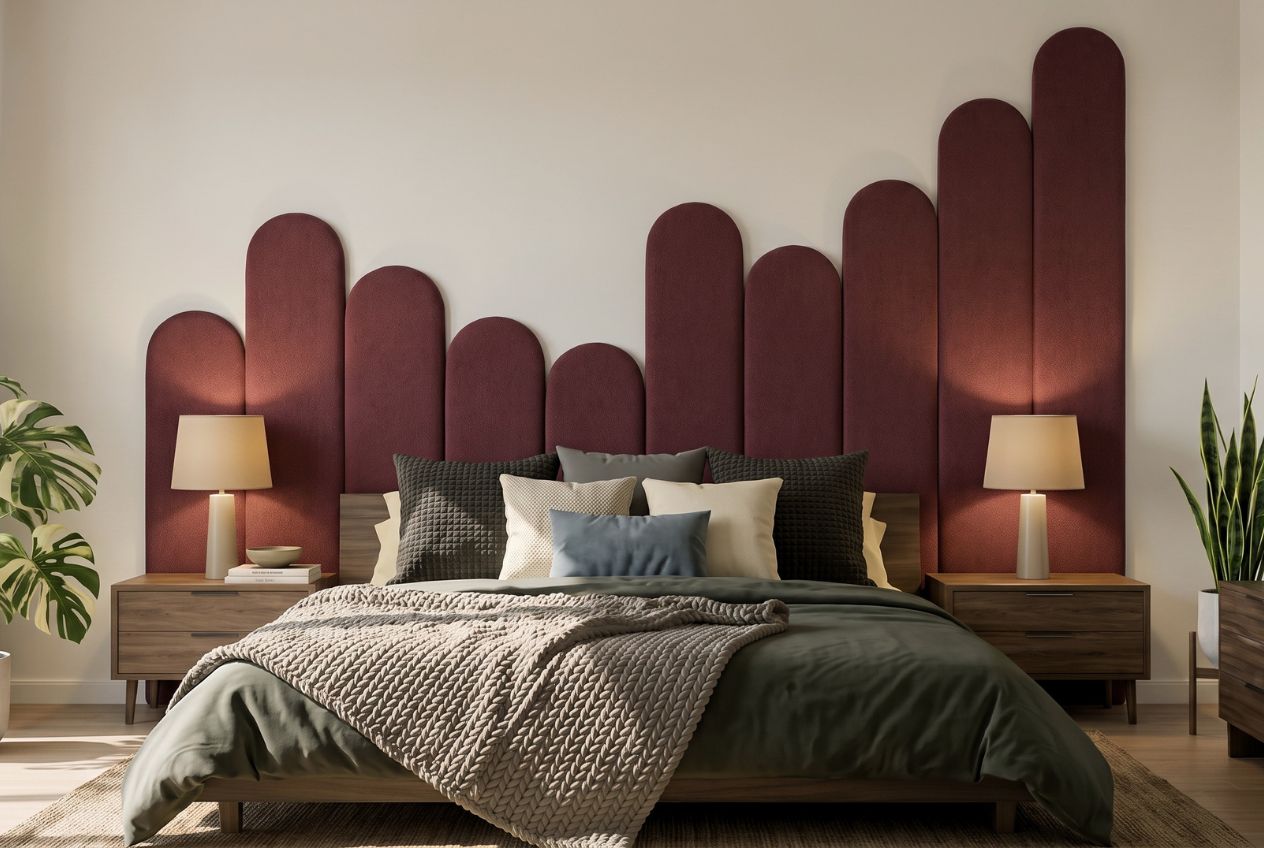
If you are ready to move beyond bare walls, the Liftedplus renter-friendly decor guide pairs curated product recommendations with practical styling advice tailored to New Zealand homes. The collection spans limited-edition framed prints, sculptural mirrors, and colour-led pieces designed to work with the no-drill methods covered here. Browse the full range and find the piece that holds your room.
FAQ
What adhesive strips work best for hanging pictures without nails?
FrogTape reMOVEables™ Large Clear Picture Hanging Strips hold up to 16 pounds with four pairs on smooth drywall. Always clean the wall with isopropyl alcohol before application to maximise hold strength.
Will peel-and-stick wallpaper damage my rental walls?
Peel-and-stick wallpaper removes cleanly from quality flat or eggshell paint when applied correctly. Always test a small patch for 48 hours before covering a full wall, particularly on older or textured surfaces.
How do I hang a tapestry without drilling holes?
Tension rods fitted with rubber end caps hold large tapestries between two walls without any fixings. Alternatively, command hooks at ceiling height support a tension rod for a fabric feature wall in wider spaces.
Can I create a gallery wall in a rental property?
Yes. Adhesive strips rated for the weight of your frames create a gallery wall with no nail holes. Arrange your layout on the floor first, photograph it, then transfer it to a clean, prepared wall surface.
How do I remove adhesive strips without pulling off paint?
Pull the tab slowly downward, keeping it close and parallel to the wall surface. This gradual release prevents the concentrated force that lifts paint. Never pull outward or at a sharp angle.