
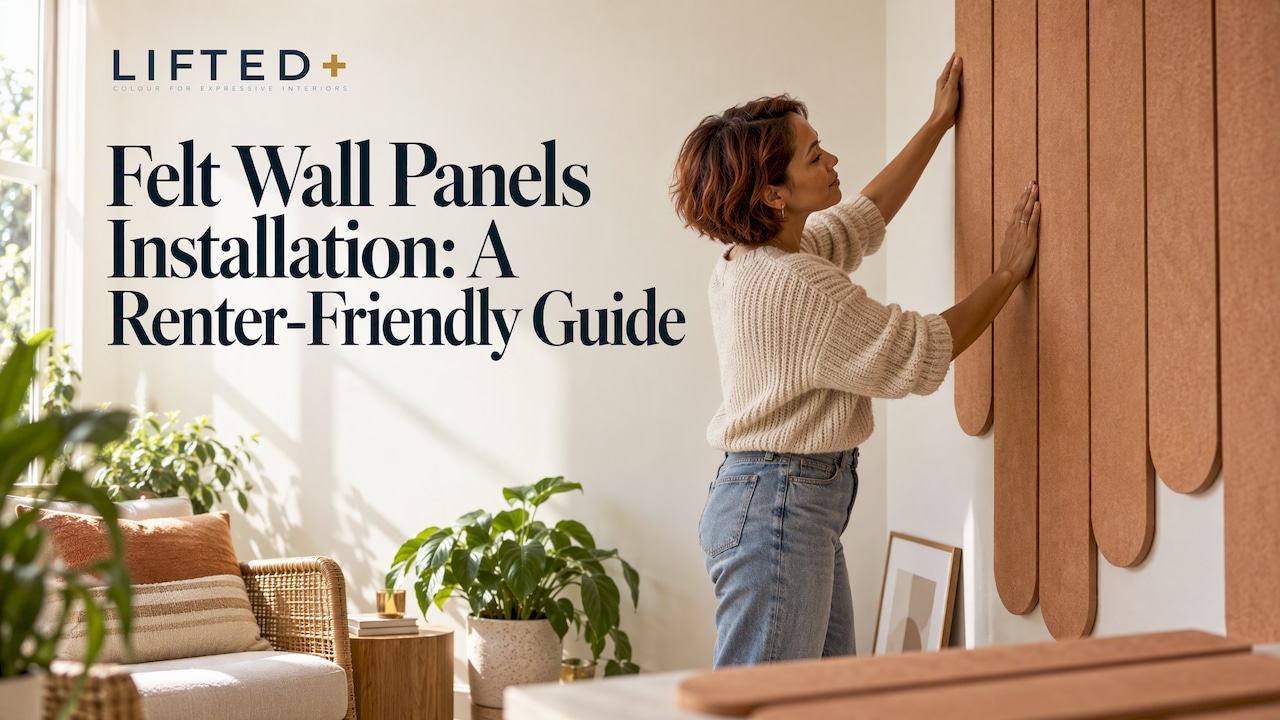
You have a blank wall, a lease that says “no holes”, and a strong suspicion that the room could be so much better. The good news is that felt wall panels can go up without a drill, a paintbrush or a tradesperson, provided you choose the fixing method to suit the wall rather than the other way round. Check the surface, plan the layout on the floor, fix from the centre out, and keep the removal in mind from the start.
This guide walks through the whole job, from the conversation with your landlord to the last panel beside the light switch. It is written around the adhesive-pad method we use for DwellForms™, so we have left out screws, battens and construction adhesive on purpose.
Key Takeaways
- Settle permission and wall condition first. Renters in New Zealand need to know where they stand on changes before anything goes on a wall.
- Lay the whole design out on the floor, then transfer it to the wall. Most crooked installations are planning mistakes, not fixing mistakes.
- Clean, dry, sound, painted surfaces suit adhesive pads best. Textured, dusty, damp or crumbling walls need a test first, and some should be left alone.
- Cut felt with a sharp blade and a metal ruler, and always switch off power before working near sockets.
- Removal is part of the plan: go slowly, and tell your landlord if a wall is marked.
Table of Contents
- Start With the Wall, Not the Panels
- Know Your Surface Before You Choose a Fixing
- What You Need Before You Start
- Measure and Plan the Layout
- Installing Felt Wall Panels, Step by Step
- Cutting and Fitting Around Edges, Corners and Sockets
- Taking Panels Down and Using Them Again
- Our Perspective: Colour Should Not Need a Contract
- Ready to Plan Your Own Feature Wall?
- Frequently Asked Questions
- Sources
Start With the Wall, Not the Panels
The most common installation problem is not technique. It is a wall that was never going to hold what was put on it, or a lease that was never read. Spend ten minutes here and you will save an afternoon later.
If you rent, the rules matter. Tenancy Services explains that tenants need the landlord’s written consent to alter a property or add major fixtures, and that a landlord cannot unreasonably withhold it. The same page notes that a tenant who damages a wall while removing something should tell the landlord, who can then ask for the repair or for compensation. A short email describing what you plan to use, and how it comes off, is a good habit even when you think nobody will mind. A no-drill, removable approach is a far easier request than a hole in the plaster.
If you own the home, the question is different: do you want this wall to stay as it is underneath? A feature wall that can be taken down without repainting leaves you free to change your mind in a year, which is a freedom worth having.
One caution applies to everyone. In New Zealand, plasterboard often does structural work as well as lining the room. MBIE guidance says that removing large sections of plasterboard without advice from a Licensed Building Practitioner or engineer can affect the stability, health and fire protection of a building. Adhesive pads do not cut into the lining, so this is not a concern for the panels themselves. It is a reason to avoid peeling away damaged sections of wall lining yourself if you find a problem while you prepare.
Know Your Surface Before You Choose a Fixing
Felt panels are light, but the wall still has to carry them, and different surfaces behave differently. We cannot promise that any adhesive suits every wall, so test before you commit.
Painted plasterboard in good condition is the friendliest surface. A flat, semi-gloss or satin finish gives pads something smooth to grip. Matt paint can be chalky, so run a dry hand across it: if colour comes off on your palm, the paint layer itself may lift when the panels come away.
Fresh paint needs time. Paint that is only days old has not fully cured, and pads on soft paint are one of the likeliest ways to pull a finish off later. Give new paint a few weeks, or check the paint manufacturer’s recommended cure time.
Wallpaper, flaking paint, bare plaster and powdery old finishes are poor candidates. The adhesive will only be as strong as the layer it is stuck to, and that layer may not be stuck to the wall.
Textured walls, such as stipple or heavy roller texture, give pads very little surface contact. We cover this properly in our guide to installing felt wall panels on textured walls.
Damp or condensation-prone walls are best avoided. If a wall regularly feels cold and clammy, or shows mould, deal with the moisture first. Panels will not fix it, and a damp wall is no place for any adhesive.
The test patch is simple. Put one pad on an out-of-the-way spot, such as behind where a sofa will sit, leave it for a few days, then remove it slowly. If the paint lifts or marks, you have learned something useful for the price of one pad.
What You Need Before You Start
This is a short kit, and most households own half of it already.
The panels or kit, with the adhesive pads supplied for them. A spirit level, ideally 600 mm or longer, and a tape measure. A pencil, and low-tack painter’s tape for marking. A sharp utility knife with spare blades, plus a metal ruler and a cutting mat or offcut of board if any trimming is needed. A clean, dry cloth and a mild cleaner, such as diluted dish soap, for the wall. A stepladder if the wall is high, and a flat floor area large enough to lay the design out.
We deliberately keep nails, screws, battens and construction adhesive off this list. They solve a different problem, a permanent full-sized acoustic installation, and they work against everything a renter-friendly feature wall is meant to do.
A word on pads. When we developed DwellForms™, we tested several pull-tab and adhesive options, and we deliberately discounted one popular brand of pull-tab strip. In our own testing, the nano-adhesive pads we selected performed significantly better at minimising wall damage. That is a result from our testing, not a promise: no adhesive is completely damage-proof, and how a wall responds depends on its paint, its age and its condition. Use the pads supplied with your kit rather than swapping in a different product, because the layout and weight assumptions are built around them.
Measure and Plan the Layout
Most felt wall panel jobs go wrong before the first pad is peeled. A pattern that looks balanced on the packaging can look top-heavy once it meets a real wall with a real window beside it.
Start by measuring the wall’s width and height, then mark the furniture that will sit against it. A feature wall behind a bed or sofa should be centred on the furniture, not the wall, if the two are different. Decide where the eye should land: for most rooms that is somewhere between 145 cm and 160 cm from the floor, roughly eye level.
Next, lay the panels on the floor in the arrangement you want. Step back, and then step back again. Take a photo, because a phone screen flattens the design in a way that shows imbalance quickly. Ask whether the colours are doing what you hoped. If you are still deciding between shades, a set of colour samples held against your actual wall in your actual light is worth more than any screen. Our guide to mixing colours in interiors can help if a two-colour scheme feels safe and you suspect three would be better.
Finally, mark the wall. Use the level to draw a light pencil line or a strip of painter’s tape at the position of the bottom edge or the centreline of the arrangement. Measure from the ceiling and the adjoining wall, not from the skirting board, because skirting boards and floors are rarely as level as they look.
Installing Felt Wall Panels, Step by Step
With the wall tested and the layout mapped, the installation itself is calm work. Allow an hour or two for a typical feature wall, longer if you are still deciding on placement.
1. Clean and dry the wall
Wipe the area with a cloth and a mild cleaner, removing dust, grease and kitchen film. Let it dry completely. Skipping this step is the quickest way to get a panel that slowly slides down overnight.
2. Mark your reference lines
Transfer your plan to the wall with painter’s tape and a level. A single vertical centreline and one horizontal baseline are usually enough. Check them twice.
3. Fit pads to the back of each panel
Work on a clean table or the floor. Apply the pads in the positions suggested in your kit’s instructions, usually near corners and across the middle of the panel so the felt cannot bow. Follow the supplied guidance on how many pads each panel needs, rather than guessing.
4. Start from the centre, or the focal point
Place your first panel against the reference lines and press it firmly for the time the instructions recommend. Starting in the middle and working outward means any small error is spread out and hidden at the edges instead of showing up as a visible drift at one end.
5. Add neighbouring panels and check the gaps
Felt shapes read as a design because the spaces between them are consistent. Use a small offcut of cardboard as a spacer if your pattern calls for even gaps, and check the level every few panels.
6. Press, step back, adjust
Once the arrangement is up, run your palm over each panel to confirm contact. Then walk to the doorway and look. It is far easier to reposition a single panel now than after the pads have bonded fully.
A brief aside on adhesive-heavy methods. Several of the guides that rank for this search recommend strong glue, nails or battens. Those are legitimate for a permanent acoustic installation in a home you own and plan to keep. They are the wrong answer for a rental, or for any wall you may want to repaint cleanly, which is why we do not use them.
Cutting and Fitting Around Edges, Corners and Sockets
Sometimes a wall refuses to be a tidy rectangle. Doors, windows, light switches and corners all interrupt the design, and a felt panel can be trimmed to suit.
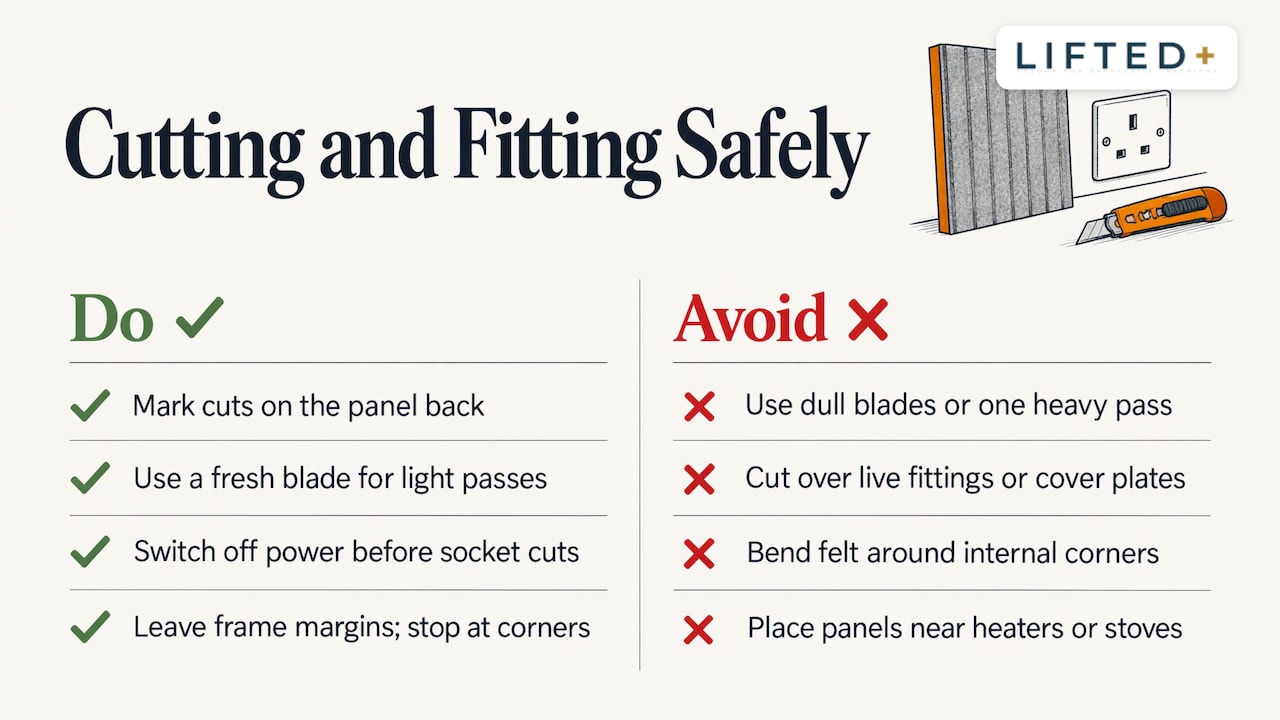
Felt cuts cleanly with a sharp blade. Mark the cut on the back of the panel, lay the metal ruler along the line, and make several light passes rather than one heavy one. A fresh blade matters: a dull blade drags and frays the edge, and the fray shows.
For a socket or switch, treat the panel as a decorative layer that sits beside the fitting, not over it. Where a cut-out is needed, measure from the nearest panel edge to the faceplate and mark the opening with a small margin. Before you hold a blade anywhere near a socket, switch off power to that circuit at the switchboard. Never cut or position felt over a live fitting, and do not cover a socket plate so that it becomes hard to reach. If the position of a socket forces an awkward shape, change the layout instead.
Internal corners are better treated as a break. Finish one panel at the corner and begin the next on the adjoining wall, rather than bending felt into the angle, where the pads will be under constant tension. Windows and doors are the same: leave a visible margin from the frame, so the design reads as intentional and the architrave remains clean.
Heat sources deserve respect. Keep panels well away from heaters, stoves and any appliance that radiates heat, and check the product guidance for your kit on placement in kitchens and bathrooms.
Taking Panels Down and Using Them Again
An installation is only as renter-friendly as its removal. This is the part that tends to be skipped in other guides, and it is the reason to choose pads over glue.
Go slowly. Peel each panel gently from one corner, following the removal directions in your kit, and use a hairdryer on a low setting if a pad resists, as warming softens the adhesive. Never yank. If paint begins to lift, stop and reassess instead of pulling harder.
When the wall is clear, look at it in good light. If there is a mark, tell your landlord promptly. Tenancy Services notes that a tenant who causes damage when removing something should say so, and the landlord can then decide between a repair and compensation. Honesty up front tends to produce a smaller conversation than a surprise at the final inspection.
The panels themselves can move with you. If you are packing for a new home, our guide to reusing modular wall panels in your next home covers storage, fresh pads and how to adapt a layout to a different wall.
Our Perspective: Colour Should Not Need a Contract
Most advice about felt wall panels was written for studios and offices, where the goal is controlling echo and the method is permanent. That is a fine answer to a different question.
The question we hear is quieter and more personal. How do I make this rented room feel like mine, without risking my bond? We built DwellForms™ around that question. The panels are precision-cut PET felt made from 100% recycled plastic, arranged in sculptural shapes and colours that turn a plain wall into a feature, and they fix with adhesive pads we chose after testing several options.
We think the rental wall deserves the same ambition as the owner’s wall. Colour is not a luxury that should wait for a mortgage. It is the fastest way we know to pull a room out of the safe, polite middle, and a removable design means a bold choice is a low-risk one.
We are also careful about what we claim. Our pads performed significantly better than the pull-tab we discounted in our own testing, but no adhesive is completely damage-proof, and no system suits every wall. So we say test first, go slowly, and talk to your landlord. Decorating with confidence includes knowing the limits.
Michelle
Ready to Plan Your Own Feature Wall?
If this guide has you eyeing a particular wall, the next step is simple. Browse our DwellForms™ Core Kits, which are designed as complete, removable feature walls, or start with colour samples to see the shades in your own light. Sample kit purchases are credited towards a full kit order.
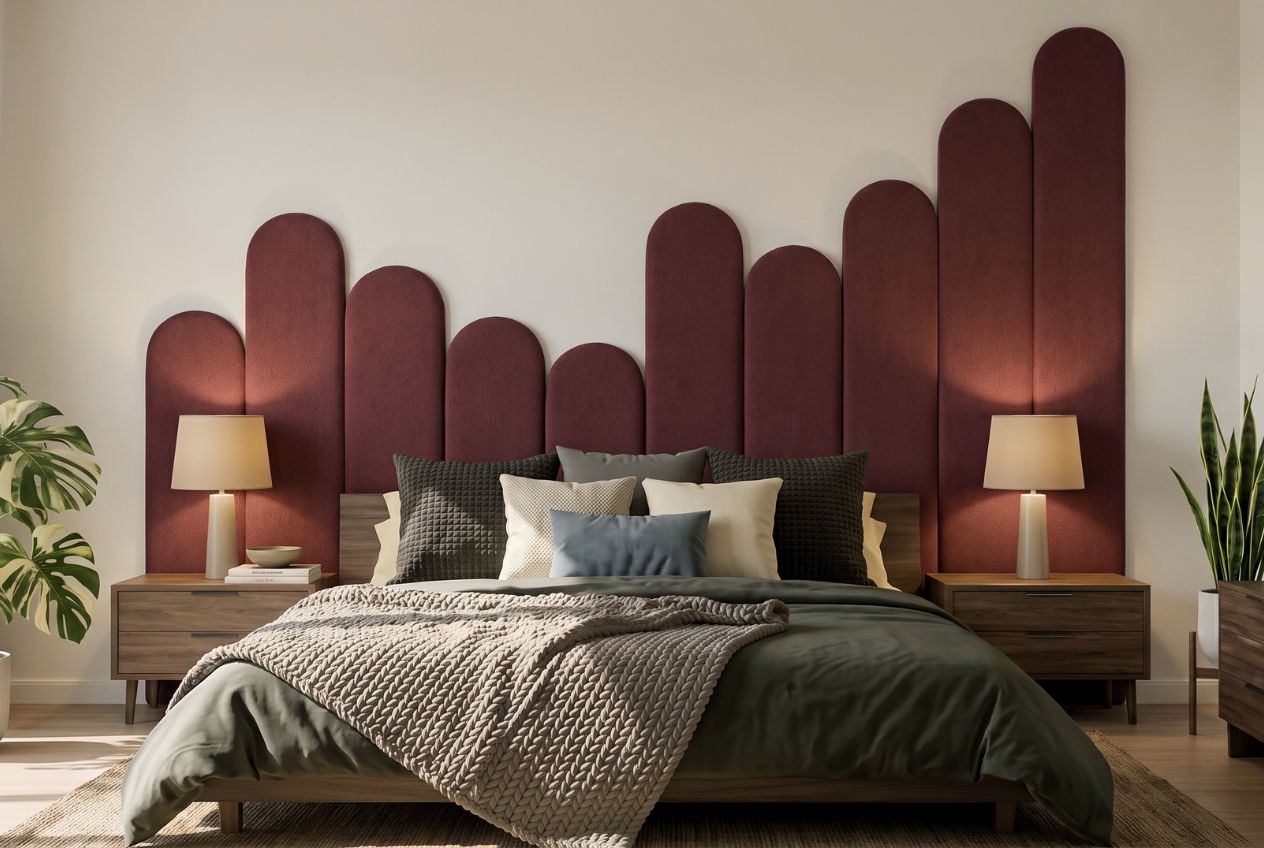
Want to make a wall bigger later? Extension kits let a first purchase grow into a larger design. Not sure where to buy in New Zealand? Our renter’s guide to buying felt wall panels explains the options.
Frequently Asked Questions
Can I install felt wall panels without drilling?
Yes, when the panels are designed for it. Adhesive pads let you fix lightweight felt to a clean, sound, painted wall without holes. The result still depends on the wall’s paint and condition, so test a pad in a hidden spot first.
Do I need my landlord’s permission?
In New Zealand, tenants need written consent for alterations and major fixtures under the tenancy rules, though landlords cannot unreasonably refuse and certain minor changes are allowed. A removable, no-drill installation is easier to agree to, but ask before you start and keep the reply.
Will felt panels stop noise?
We do not sell DwellForms™ as soundproofing or as a commercial acoustic treatment. Felt adds texture and can soften the feel of a room, but if noise from neighbours or the street is your main problem, speak to an acoustic professional.
How long does installation take?
A typical feature wall takes an hour or two once the wall is clean and the layout is planned. Most of the time goes into planning and checking the level, not into fixing the panels.
Can I move the panels to another home?
That is the idea. Remove them slowly, store them flat and dry, and fit fresh pads on the new wall. Our guide to reusing panels covers the details.
Sources
- Tenants making changes to the property, Tenancy Services
- Repair and replacement of plasterboard, Building Performance (MBIE)
Recommended
- Renters: Felt Wall Panels Benefits, No Drill, Reusable, DwellForms™
- No Drill: 3 Ways To Fit Panels On Textured Walls For Renters
- Damage Free Wall Panels: A Renter’s Guide For 2026
- Where To Buy Felt Wall Panels In NZ: A Renter’s Guide
This article is for general information and inspiration only. Product performance and results may vary depending on individual circumstances, surfaces and installation.
