
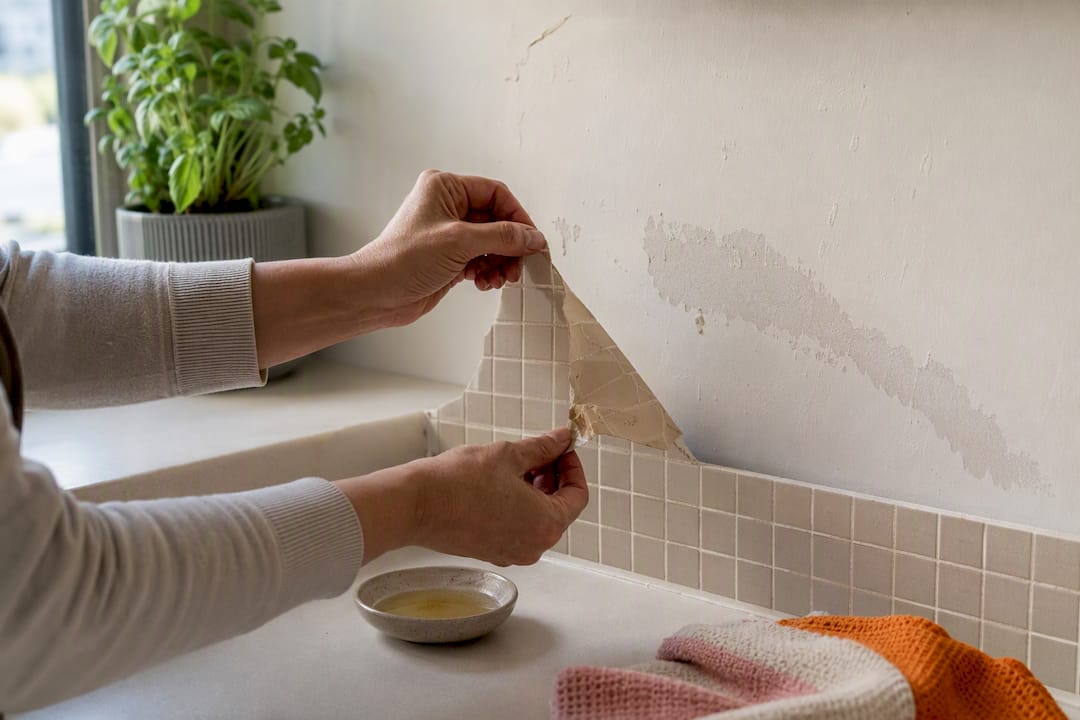
Test a hidden corner first to work out whether your panels are peel-and-stick, glued, or nailed. If adhesive is holding them on, warm the surface with moving heat and lift slowly and parallel to the wall, working in short sections rather than yanking. Patience here decides whether you end up with a clean wall or a drywall repair job.
TL;DR:
- Using heat and working in small sections allows most adhesive wall panels to be removed without damaging the drywall or paint finish.
- Peel-and-stick panels should be heated along the edges and lifted slowly, pulling parallel to the wall to prevent tearing or creasing.
- Mechanical removal with scrapers and sanding is the safest way to clean residual adhesive, with chemical removers used only as a last resort.
- Patching small tears or holes involves sealing torn drywall paper before applying joint compound and sanding for an even finish.
- Removable wall panel systems with adhesive pads are recommended for renters to avoid repeated removal and wall damage.
Table of Contents
- How do you remove adhesive wall panels the right way?
- What’s the best way to remove different types of wall panels?
- How do you clean up leftover adhesive residue?
- How do you repair the wall after removing panels?
- When should you call a professional instead?
- Why we’d rather you never do this job twice
- A colour-led alternative that skips the removal problem entirely
- Sources
- FAQ
How do you remove adhesive wall panels the right way?
Getting this right starts before you touch a single panel. Gather your tools and protect the room, because the biggest cause of damage is rushing in without either.
Tools worth having on hand:
- Utility knife, for cutting caulk lines and seams cleanly
- Stiff putty knives and wide scrapers, the workhorses of the job
- Thin plastic cards (an old gift card works), for gentler prying near finishes
- Heat gun or hair dryer on low or medium heat
- Flat pry bar, for nailed or clipped systems
- Oscillating multi-tool, useful but optional for stubborn adhesive or trim
- Sanding sponges, wallcovering primer, and joint compound for the repair stage
- Drop sheets, safety glasses, and a dust mask
Before you start, pull off skirting boards, architraves, and outlet covers where panels meet them, and run a utility knife along any caulked seams so you’re not fighting sealant as well as glue. This preparation is similar to the careful steps in interior door replacement to avoid damage and achieve a smooth finish. Cover the floor and any fixtures nearby, and if the panels sit near switches or power points, turn off the circuit first. Then test a small corner, checking whether it flexes and pops (a sign of nails) or reveals a continuous bead of glue on the backing. That five-minute test tells you which method below applies to your wall.
What’s the best way to remove different types of wall panels?
The method changes depending on how the panel is attached, and mixing them up is how most DIY jobs go wrong. Three attachment types cover almost every situation: peel-and-stick or magnetic systems, glued or permanent adhesive installs, and clip or tongue-and-groove panels held with nails or screws.
For peel-and-stick panels:
- Warm one edge with a heat gun or hair dryer on low heat, keeping it moving so you don’t scorch paint or finish.
- Lift that edge slowly, pulling parallel to the wall rather than straight out.
- Work along the seam in a steady line, keeping the panel supported with your free hand so it doesn’t snap or crease.
- Reheat as you go. Cold adhesive grips harder, so don’t let the pace outrun the heat.
For glued or permanent adhesive panels:
- Break the job into small sections rather than trying to free the whole panel in one pull.
- Apply moving heat with a heat gun or hair dryer on medium, then slide a wide scraper flat against the wall between the panel and the surface.
- Pause the moment you feel resistance building. That’s your cue that the drywall paper is close to tearing, not a signal to push harder.
- Move to the next section and repeat, letting heat do the work instead of force.
For nailed or clip systems:
- Remove any trim to expose the fasteners underneath.
- Back out screws or nails individually rather than prying the whole panel free at once.
- Where a pry bar is genuinely needed, slip a scrap of wood behind it as a buffer so the bar’s edge doesn’t dent or gouge the wall.
Pro Tip: Keep a spray bottle of warm water nearby for stubborn peel-and-stick edges. A light mist plus gentle heat softens acrylic adhesive faster than heat alone, and it’s a lot kinder to painted walls than scraping cold.
If drywall paper does tear, stop immediately rather than continuing to pull at the same spot. Trade guides indicate that rushing during removal can cause large drywall repairs, so treat a small tear as a signal to change technique, not push through it. Seal what’s exposed and move to a fresh section. A five-centimetre tear is a five-minute patch. A metre of stripped paper is a weekend job.
How do you clean up leftover adhesive residue?
Once the panels are off, the wall usually isn’t finished, it’s just revealed. Leftover glue, caulk beads, and adhesive residue need their own approach, and the order you tackle them in matters.
- Start mechanical, not chemical: a wide scraper held at a low angle lifts most residue without introducing solvents to the wall.
- Follow with fine sanding to level any remaining ridges before you assess what’s left.
- Mechanical removal first, then targeted solvents where needed, protects the substrate underneath far better than reaching for a chemical stripper as step one.
- If residue won’t budge, a citrus-based adhesive remover or a manufacturer-recommended product can help. Test it on a small hidden patch first and ventilate the room properly.
- Around shower or bath surfaces, be extra cautious. Some solvents that are fine on painted drywall will dull or damage tiled and acrylic finishes.
Scraping and sanding before reaching for solvents is the standard approach, and it’s the one that keeps you from over-exposing yourself to fumes in a small bathroom or bedroom. Once the wall is clean and dry, you’re ready for repair prep, not a moment before.
How do you repair the wall after removing panels?
Getting the order of operations right here is what separates a wall that takes paint cleanly from one where the patch bubbles up a week later.
- Seal any torn drywall paper immediately with a wallcovering primer or sealer before you touch joint compound. Compound applied straight over torn paper often bubbles or peels later, because the fibres underneath are unstable until sealed.
- Assess the damage scope. Small holes and isolated tears get a spot patch with joint compound, feathered out and sanded smooth.
- Choose a skim coat for widespread damage. When tears are spread across a large area, a full skim coat over the whole surface tends to give a cleaner, more even result than patching dozens of small spots individually.
- Sand progressively, starting with a coarser grit to knock down ridges and finishing fine to blend patch edges into the surrounding wall.
- Apply a stain-blocking primer if old adhesive left discolouration, then check the wall under raking light (a torch held at a low angle) before you commit to paint or a new finish.
It helps to have your sealing primer, joint compound, and sanding sponges on hand before you finish pulling panels, so exposed drywall paper doesn’t sit overnight collecting moisture or dust. That single habit saves more repair headaches than any tool on the list.
When should you call a professional instead?
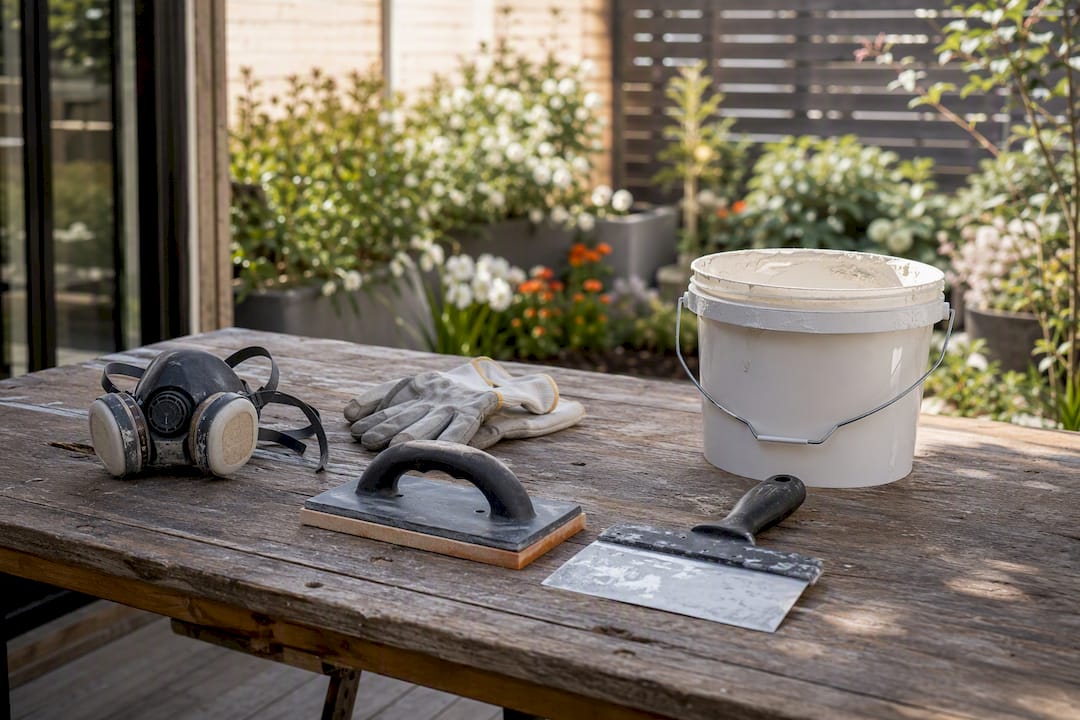
Some jobs are genuinely beyond a weekend DIY effort, and knowing the line saves you money rather than costing you it. Call a tradesperson if you’re seeing large areas of torn drywall paper, any sign of mould or damp behind the panels, panels installed directly over plumbing or wiring, or if you simply don’t have the tools listed above.
Before you call, gather clear photos of the damage, note the wall’s approximate size, and mention what the panels were attached with if you know. That’s enough for most tradies to give you a realistic quote over the phone. A small spot patch is typically a quick, low-cost job. A full skim coat across a room takes longer and costs more, and a full replaster (needed when the substrate itself is compromised) is the most involved and priciest of the three.
Why we’d rather you never do this job twice
Most people don’t remove wall panels because they’re bored. They remove them because a landlord inspection is coming up, a lease is ending, or a glued-on feature wall they loved two years ago now feels dated and there’s no way to update it without another round of scraping and patching.
That’s the part conventional wall panel advice skips. It treats removal as an isolated event, a one-off inconvenience, rather than what it usually is: the second half of a cycle that started the day someone reached for construction adhesive. Every glued panel is a future removal job waiting to happen, and every removal job is a bet that the wall underneath survives intact.
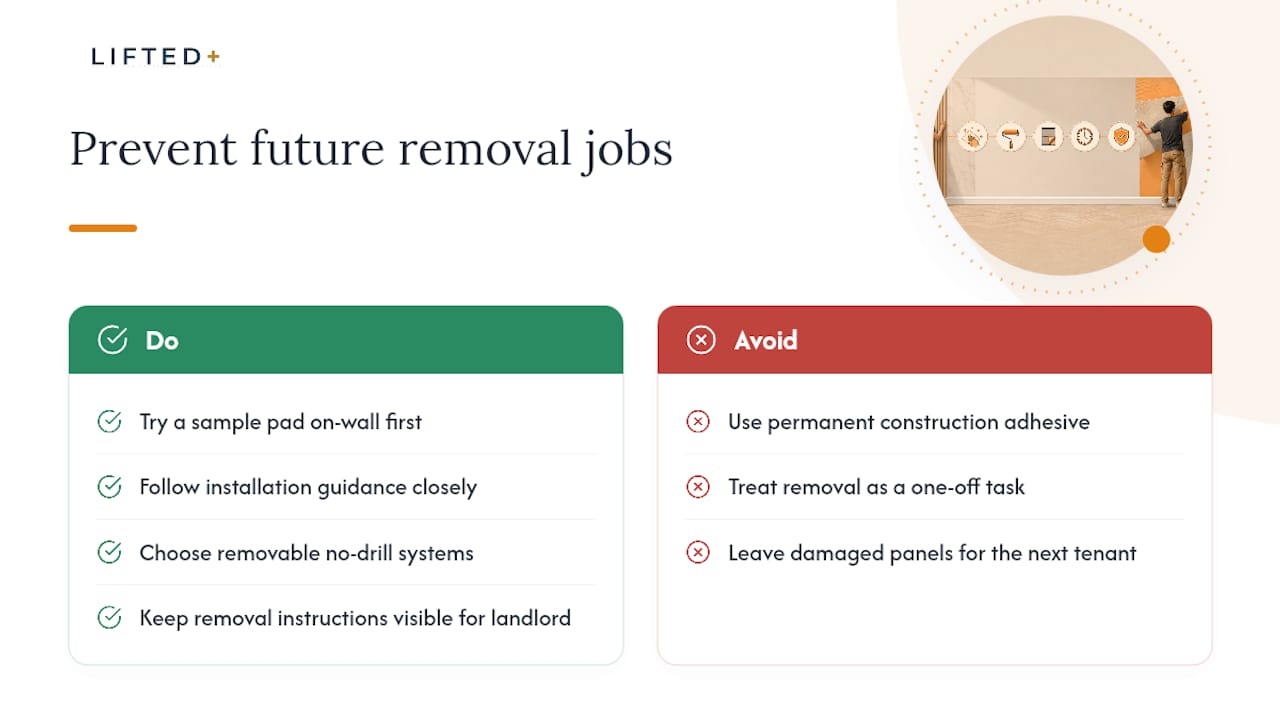
The honest fix isn’t a better scraper. It’s not starting with adhesive that’s designed to be permanent in the first place. Removable, no-drill wall systems exist precisely because renters and homeowners got tired of this cycle, and once you’ve spent an afternoon sealing torn drywall paper, you understand exactly why. DwellForms™ takes that lesson and builds it into the product: tested adhesive pads instead of glue. Panels are designed to come off cleanly, and it’s a system you can pack up and take to your next place instead of leaving behind in a skip bin.
Try a sample pad on your actual wall before committing to a full kit, follow the installation guidance closely, and if you’re renting, keep the removal instructions somewhere your landlord can see them. It’s a small habit that saves the next tenant, and possibly future you, from ever reading a guide like this one again.
— Michelle
A colour-led alternative that skips the removal problem entirely
If you’ve just spent a weekend scraping glue off drywall, the idea of ever doing it again probably has no appeal. That’s exactly the gap DwellForms™ by Liftedplus is built to close: a renter-friendly feature wall system that swaps permanent glue and drilling for tested, removable adhesive pads, so colour and texture go up in an afternoon and come down just as cleanly when you move.

Each modular kit is made from recycled PET felt, arrives in sculptural shapes designed to hold a room, and can be rearranged or taken with you to a new address instead of getting torn off and binned. Sample kits let you test a colour and finish on your actual wall before you commit to a full layout, and the installation guidance walks you through the no-drill setup step by step. If a blank rental wall or a dated feature wall is next on your list, start with the DwellForms™ Skyline modular wall panel kit and get colour without commitment, rather than another removal job down the track.
Sources
- Smart Steps to Remove Wall Paneling Without Wrecking Drywall | Willamette Carpentry
- How to Remove Wood Paneling from Walls and Repair Drywall << Interior Design :: WonderHowTo
- How to Remove WPC Wall Panels from the Wall
FAQ
Can you remove adhesive wall panels without damaging the wall?
Yes, in most cases, if you use moving heat, work in small sections, and stop pulling the moment you feel resistance rather than forcing the panel off in one go.
What tool is best for removing stuck-on wall panels?
A wide putty knife or scraper combined with a heat gun or hair dryer on low to medium heat handles most glued and peel-and-stick panels safely.
How do you remove adhesive residue from a wall after taking off panels?
Start with mechanical scraping and fine sanding, and only move to a citrus-based or manufacturer-recommended adhesive remover if residue remains, testing it on a small patch first.
Is it safe to use a heat gun on shower wall panels?
Yes, on low to medium settings with the heat kept moving, though you should avoid overheating acrylic or tiled surfaces and always test a small hidden area first.
What’s the alternative to gluing wall panels in a rental?
Removable, no-drill systems like DwellForms™ use tested adhesive pads instead of permanent glue, giving renters colour and texture without the removal work covered in this guide.